
Detective's notebook
How to solve detective logic grid puzzles
Doña Lupa suits iPhone players who like crossing detective clues with a grid's constraints. Every placement affects a suspect's row, column and zone, while the story supplies facts you can check. The result is a self-contained deduction puzzle with a comic reveal, rather than a test of speed or calculation.
Use a simple loop: record a clue, remove every possibility it forbids, place anything forced, then scan the changed rows, columns and zones. Repeat that loop and a crowded detective grid becomes a series of small, checkable decisions.
Translate the story into board facts
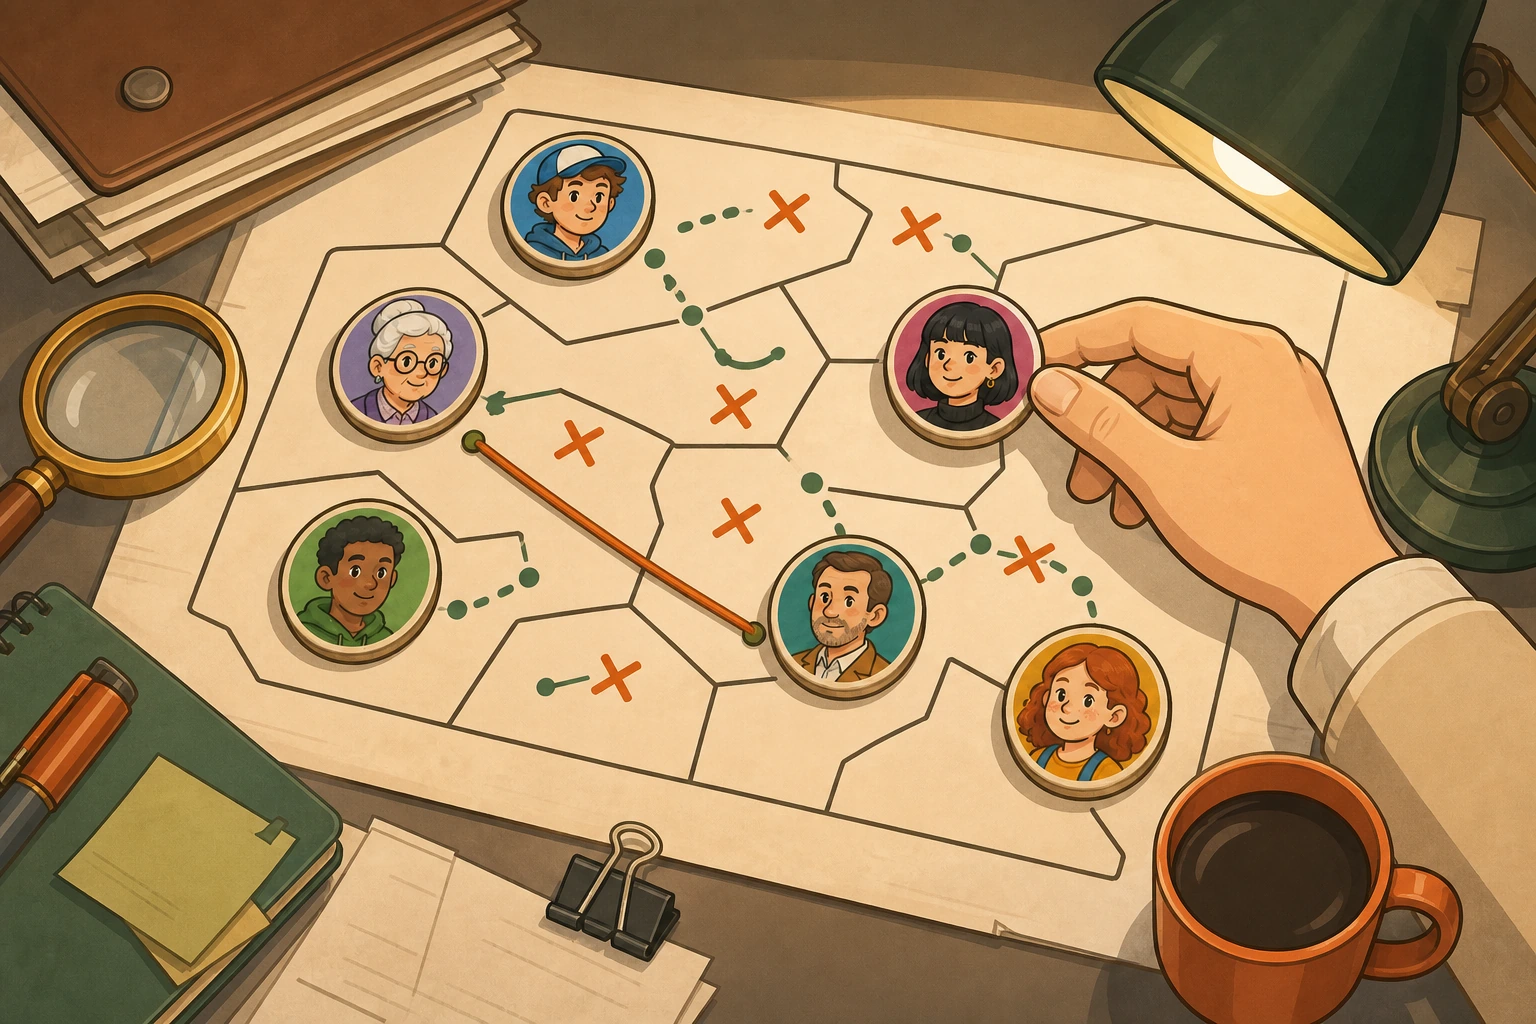
Detective language creates atmosphere, but your first task is practical: turn each sentence into something the grid can show. “The manager was not near the missing lunch” removes positions. “The guest shared a zone with the concierge” links candidates. “The intern was in the final column” creates a placement or a short list of cells.
Do not try to solve the whole sentence in your head. Mark what is certain now and leave the rest available for later. A relational clue may do almost nothing at the start, then become decisive once one of its suspects has only two possible cells.

A five-pass method for any case
Pass 1: map rows, columns and zones
Trace the outlined zones and count their cells. On a six-suspect board, every row, column and zone must hold all six suspects once. Pay special attention to bent zones, because a legal-looking row placement can still create a duplicate inside one.
Pass 2: enter direct positives and negatives
Start with clues that name a definite location or rule one out. Positive information is tempting, but negative clues are equally useful. Four crossed-out cells in a six-cell group leave only two candidates, and another board rule may remove one of those without a new clue.
Pass 3: propagate immediately
After placing a suspect, sweep their row, column and zone. Remove that suspect from every other cell in all three groups. Delaying this step hides the chain reactions that make the puzzle move.
Pass 4: reverse the question
If no cell has a single candidate, stop asking which suspect fits a particular cell. Pick one suspect and ask where they can appear within a row, column or zone. When only one location survives, you have a forced placement even if that cell still displayed several candidates.
Pass 5: reread and audit
Return to every unused clue after the board changes. Before revealing the culprit, verify that each group contains every suspect once and that the completed positions satisfy every sentence. A contradiction is useful: it points to the earliest unsupported placement.
Practice the loop
Every Doña Lupa clue is true. The alibis are another matter.
Two patterns worth learning
The hidden single: a suspect has only one possible cell inside a group, even though that cell has several possible suspects. Check both directions—cell to suspect and suspect to cell—whenever progress stops.
The locked intersection: within one zone, every remaining position for a suspect falls on the same row or column. That suspect is therefore blocked from the rest of that row or column outside the zone. It is simply the consequence of the one-per-zone rule meeting the one-per-row rule.
What not to do when you are stuck
- Do not erase every candidate: preserve confirmed exclusions; they are the record of your reasoning.
- Do not pick the guiltiest face: character art supports the story, not the formal solution.
- Do not force a binary choice: if two cells remain, inspect their other groups and leave both open until one is disproved.
If the board rules themselves are unfamiliar, read the beginner deduction sudoku guide. For the storytelling side of the format, see what makes a murder mystery logic puzzle fair.
Quick answers
Logic-grid solving questions
What should I do when a logic grid has no obvious next move?
Choose one suspect and check all of their remaining cells inside each row, column and zone. Then reread the relational clues using the candidates that remain.
Are notes necessary in detective logic puzzles?
They are not mandatory on very small boards, but marking impossible cells reduces memory load and makes hidden singles and intersections much easier to see.